Here’s a simple, but great way to bind your own paperback books at home
If you like ebooks but don’t like reading them on your computer screen, this How-to post is for you. I’ll show you a quick and dirty book binding technique you can use to turn your ebook into a real book with about 5 minutes worth of effort. In fact, this is so easy, you might end up self-publishing your own books on demand for profit. If that’s the case, you owe me a copy.
Before we get started, I recommend you subscribe to my RSS feed so you don’t miss out on updates to this guide and other tips.
This process involves just a few basic steps, no sewing, or doing mini-binds (otherwise called signatures). The most time consuming part of this process is just waiting for glue to dry.First, the problem: How many times do you print up a book or detailed report only to lose some of the pages, or have them fall out of your hands and jumble the pages? Since ebooks can contain several hundreds of pages, it’s easy for accidents to happen. You can’t read them if there is any wind blowing. You can’t pull them out 5 minutes before a meeting and turn to your bookmark. Even turning the pages becomes annoying after awhile. That’s why you should consider this easy DIY project.
editor note: Hey, there’s now a full course on quick and easy at-home Bookbinding available!
For the eBook, I purchased the 37signals new ebook Getting Real The Smarter, faster, easier way to build a successful web application. I was watching a show on TV last night and got a bit bored so I chose to bind the book while I was watching. Aside from printing and glue drying, the whole process took about 5 minutes.
So are you ready? Here we go (click on any pictures to get a closer look)…
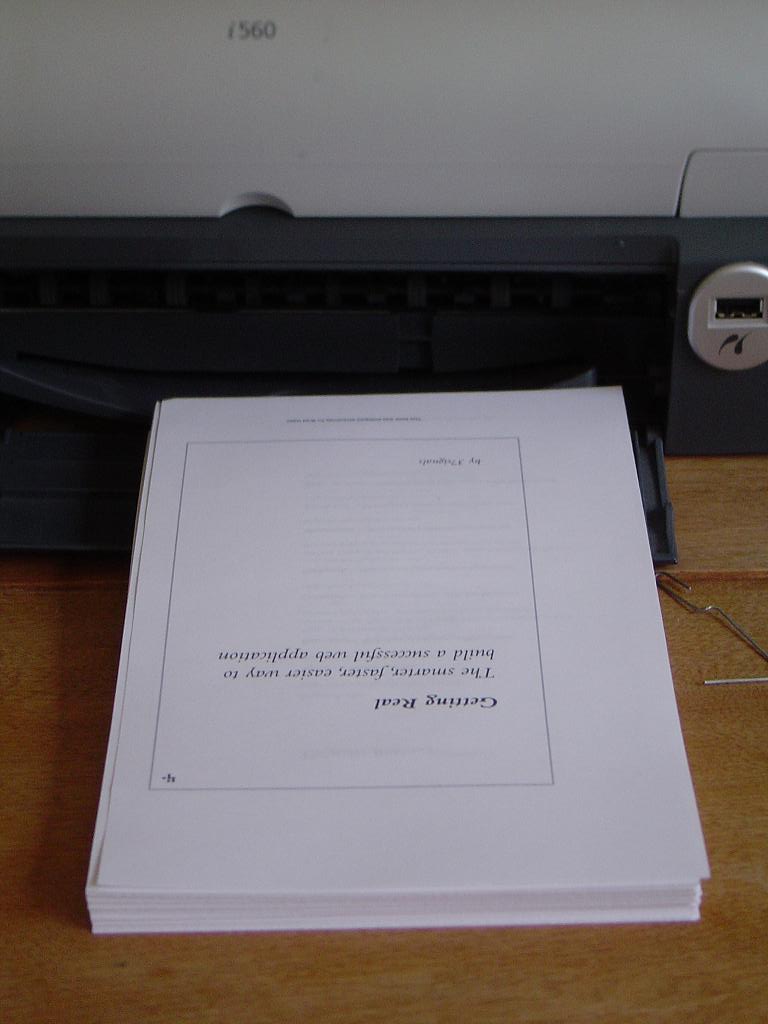 Print the ebook on A4 paper. A duplex printer really helps here. I actually get the full 8 1/2 by 11 sheets and cut them in half. Also, use a heavier 24lbs paper stock to avoid the ink bleeding through.
Like a deck of cards, grab all your book pages and tap them so all the sheets are flat and in line.
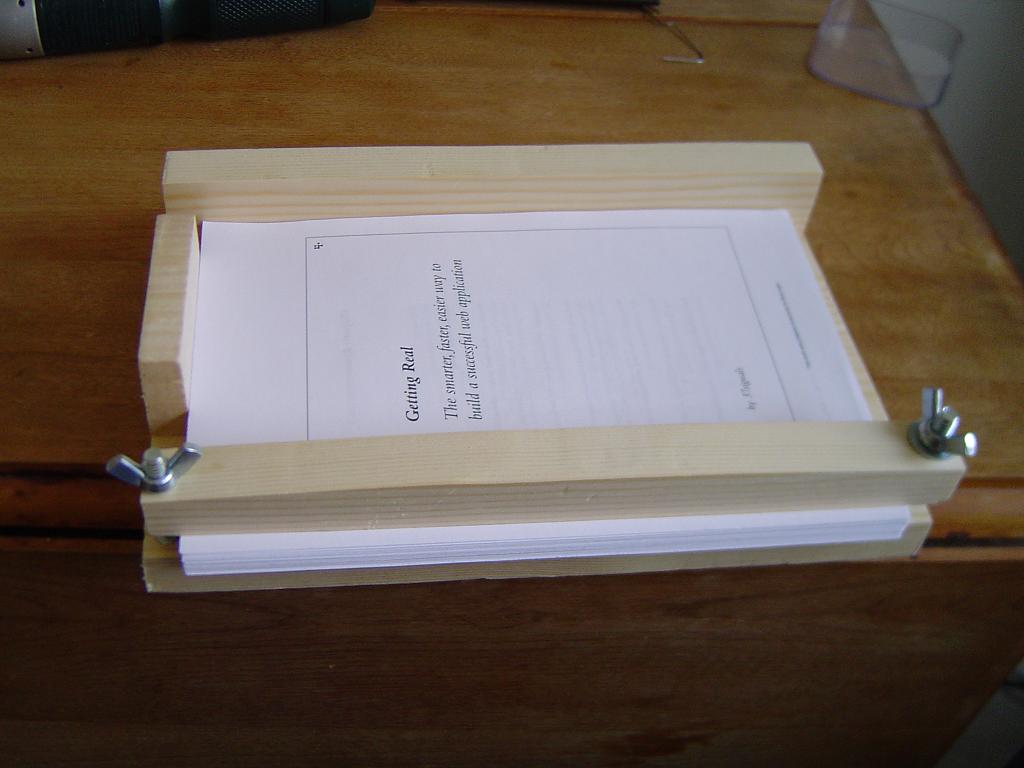
 This is a simple book binder I built out of scrap wood. If you don’t feel
like building one, you can use a phone book to hold everything flat and
in line. Building a binder like this definately has it’s advantages.
First the two blocks of wood keep the pages in line on two sides.
Also, it’s very easy to clamp them using the clamp bar and wingnuts.
.
.
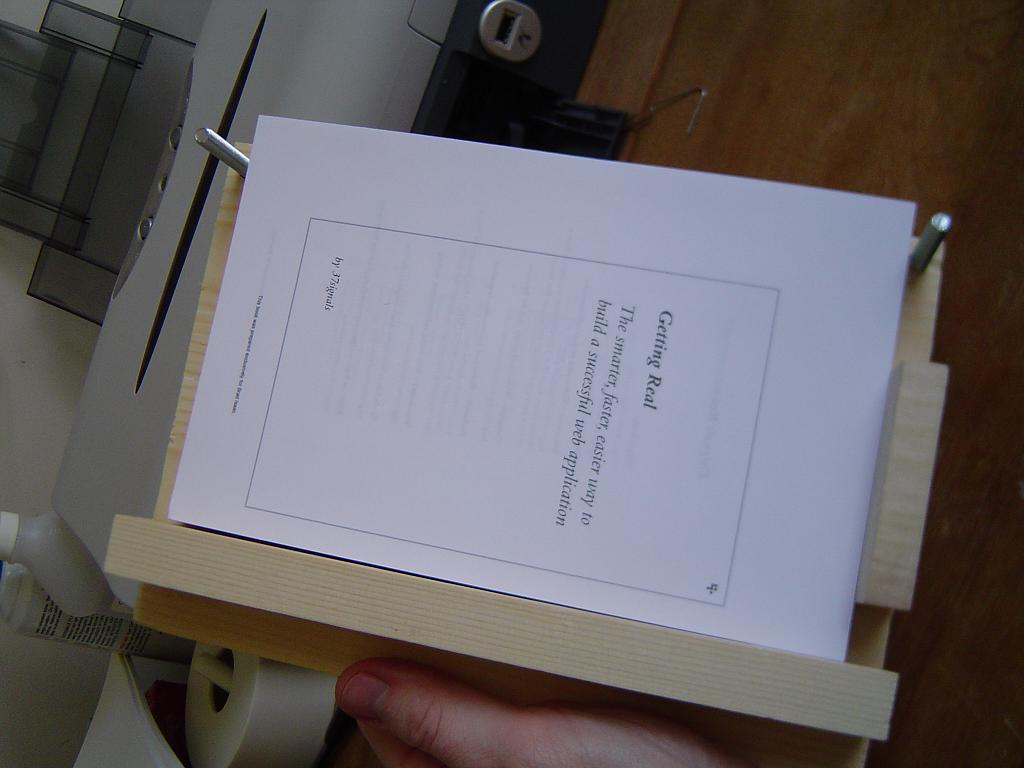
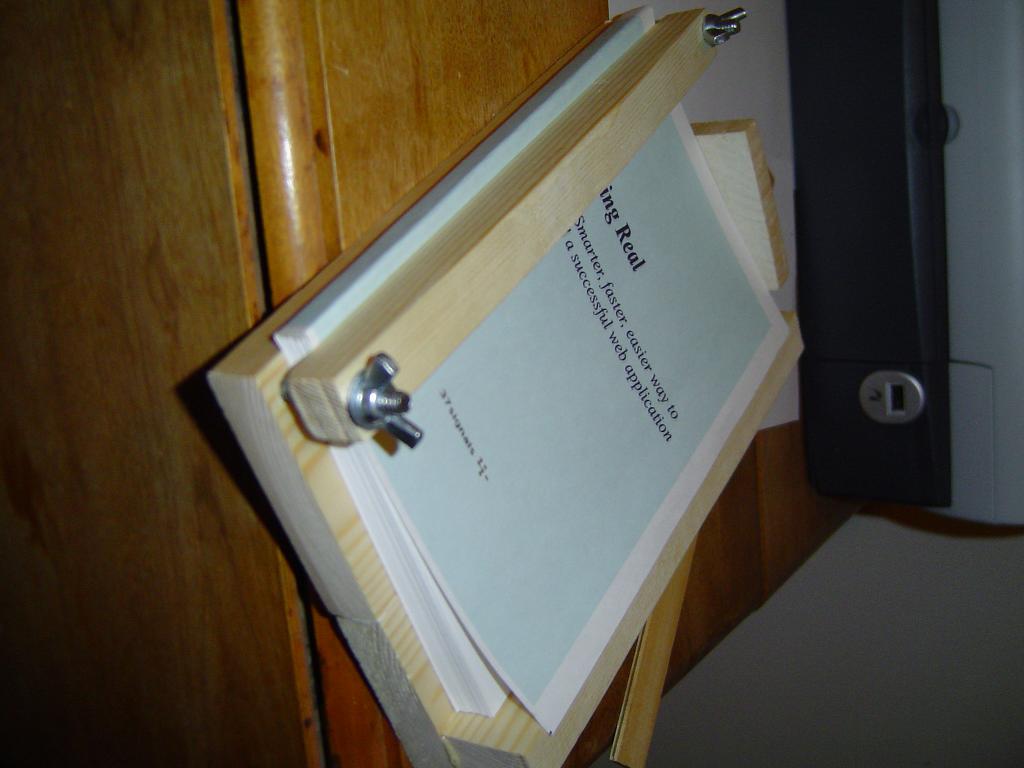
 Here are all the pages in the binder, isn’t this pretty? I clamped them tight so nothing moves.
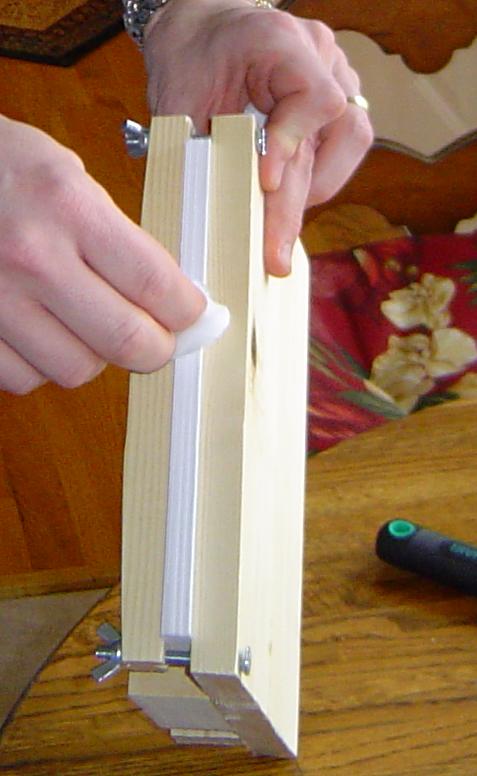 Wet the spine. I use Gorilla Glue
 to bind the books. It’s great for several reasons. One it expands and fills in any unintentional gaps. Two it holds firm and tight. Part of me wonders if pro binders use it because it’s so solid.
I use a cotton ball slightly wet with water to wet the spine. I make sure I make a pass or two over the spine so it’s damp.
Then I squeeze all the water out of the cotton ball and use it to apply the glue.
 While the glue is drying, I measure out the cover. Typically, I use some heavy card stock in legal size. Since I’ve done this so many times, I have a word template for printing the covers. If people want it, I’ll post.
It’s smart to go ahead and fold the edges of the cover before binding so it will fold over the pages without you having to strain. If you are going with pages 5 1/2 inches wide, then measure 5 1/2 inches and make a light mark on the cover. Then measure the width of the newly bound pages and mark there (In this case the page measure 1/2 inch.) Use a ruler to make the folds.
After the glue has dried, I loosen the wingnuts and insert the cover (back side) underneath the newly bound pages.
 After applying a touch more water and spreading glue to the spine, I fold over the cover and make everything tight. Then clamp it in the book binder.
You can see an overlap in the cover. I tend to cut too large so I can cut back..it’s better to have too much than too little. Now just leave everything to dry – overnight is preferable.
.
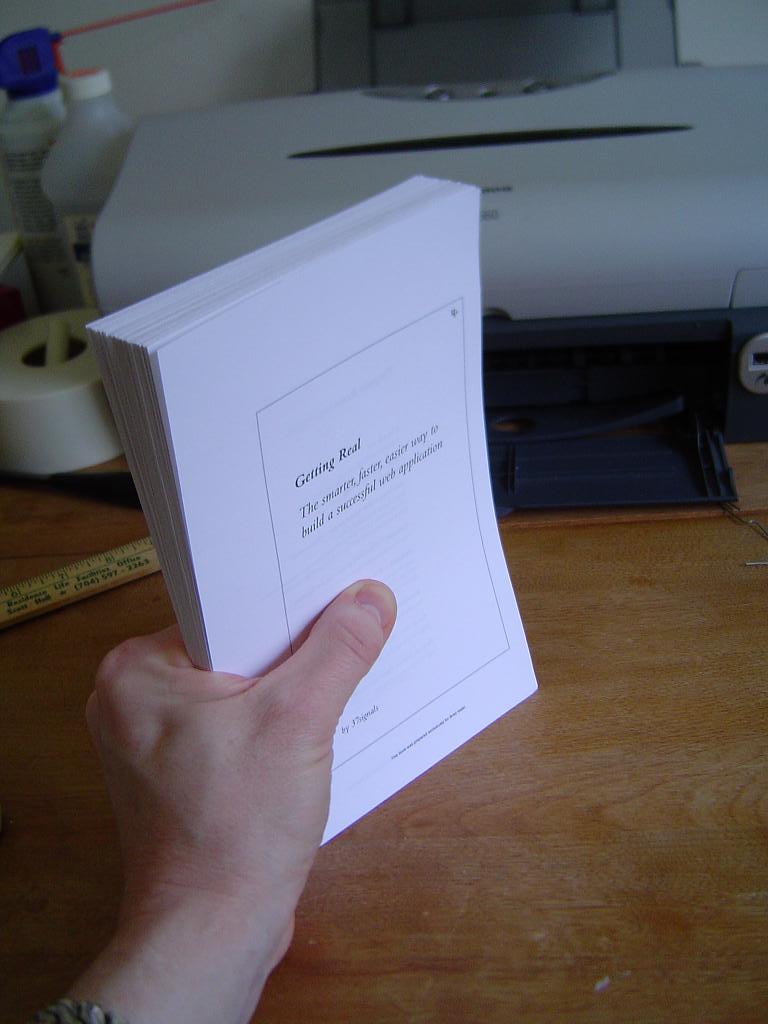
 Ok, it may look like I’m ready to sit down and read you a story…but I am demonstrating the toughness of the binding.
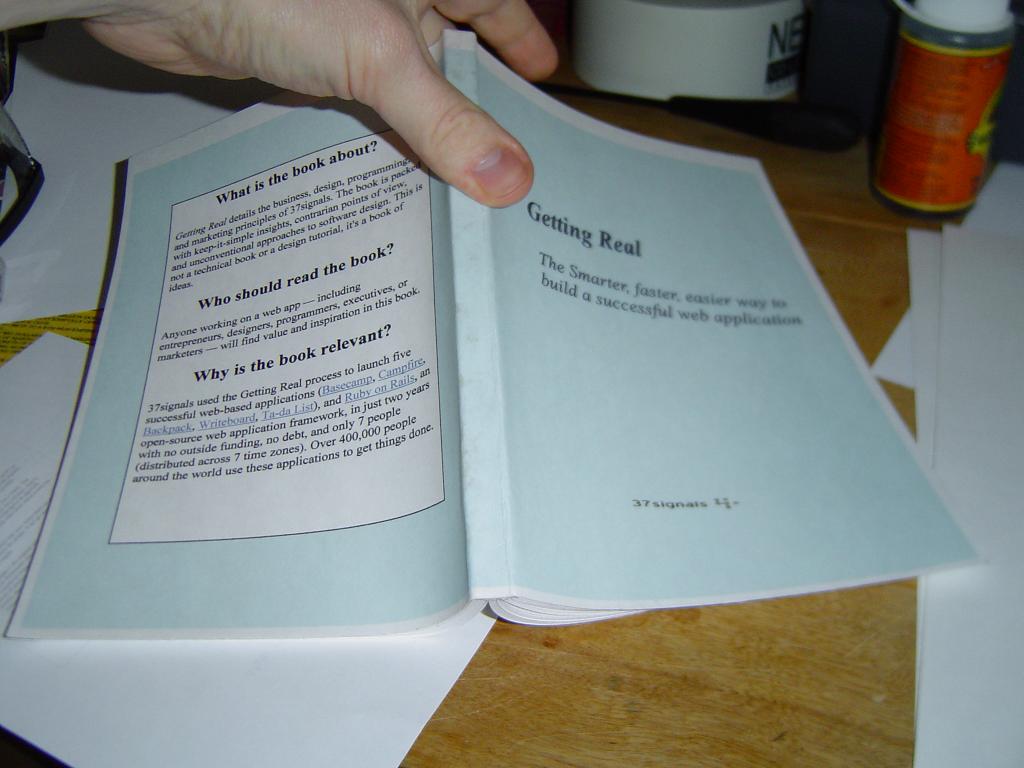 In this picture, I am really stressing the spine and binding. It still holds up and springs back into shape.
When I’ve told people I like to bind an occasional book, they often
remark that it must take a long time or be difficult. The benefit of
this method though is it really doesn’t take that much longer than
printing out the book – which is what most people do anyway. Since you
are printing it, why not go ahead and take the extra step and bind it?
Now that that’s done…I’m off to read. Be sure and post your questions and comments.
For more information on simple at-home bookbinding, grab the Easy Bookbinding Course by Nathan De Stephano


{ 149 comments }
← Previous Comments
{ 28 trackbacks }